
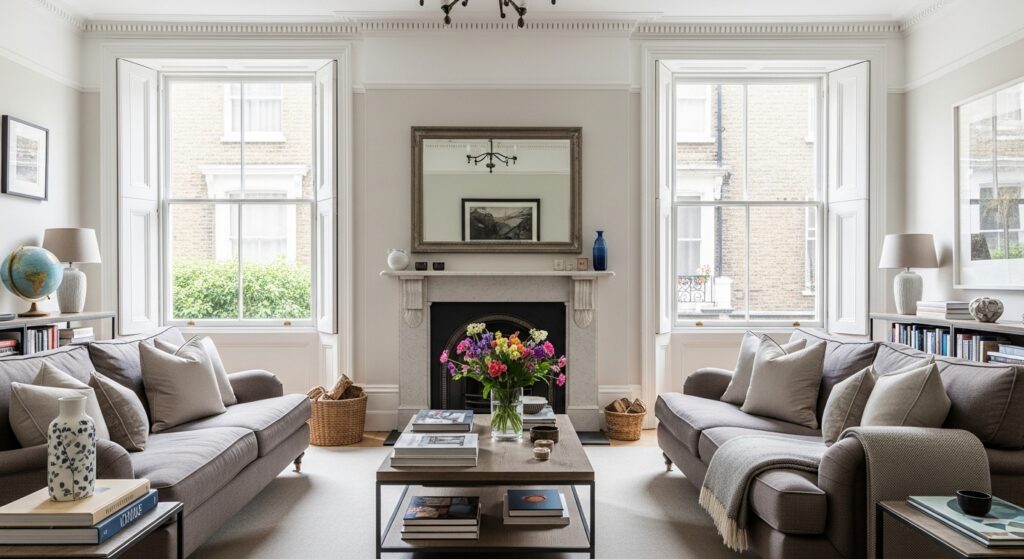
How to Prepare Your Home for a Residential Interior Photography Shoot
You have invested in a professional residential interior photography shoot. The photographer is booked, the date is confirmed, and the space looks good to your eye. But on the day, something feels off — a cluster of cables behind the sofa, a window blind at the wrong height, a half-empty shelf that looked fine in person but reads as neglect on camera. These are not rare problems. They are the most common reasons a well-planned shoot produces images that fall short of expectations. Preparation is not a minor detail — it is the single biggest factor within your control, and getting it right determines whether your images look like professional home interior photography or an expensive version of a phone snapshot.
This guide covers exactly what to do before a residential interior photographer arrives at your London property — room by room, detail by detail — so your shoot delivers the results you are paying for.
Why Preparation Matters More Than Most Clients Realise
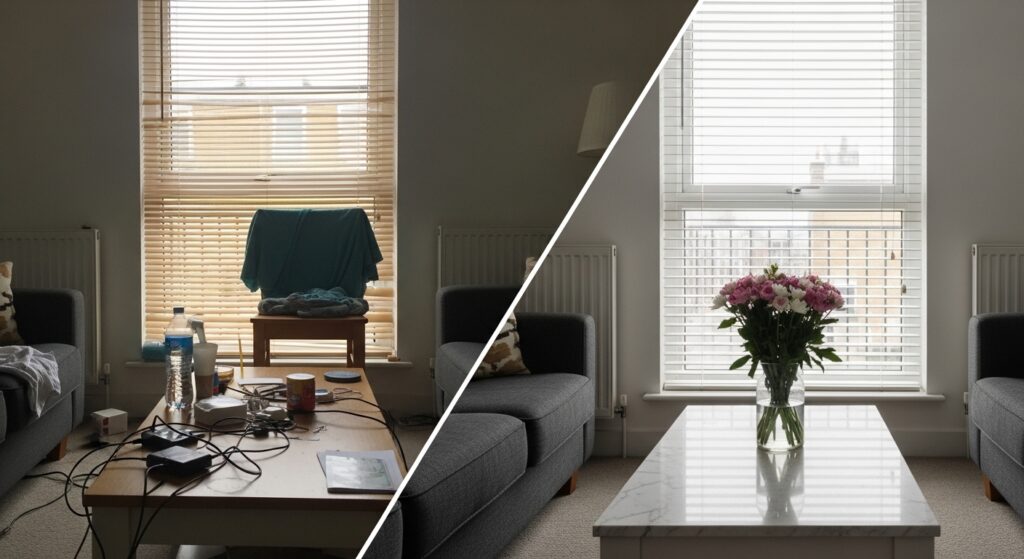
A camera sees everything differently from the human eye. In person, your eye naturally edits out distractions — the charger on the worktop, the slightly wonky blind, the magnets on the fridge. A camera records all of it with equal attention. What reads as a lived-in, comfortable home in real life can translate into a cluttered, unfocused image on screen.
This matters enormously in London’s property market, where buyers and renters are making judgements based on online listings viewed on a phone screen. It matters equally for interior designers and architects documenting completed projects — a single out-of-place item in the background of an otherwise beautiful shot can undermine months of careful design work.
The good news is that preparation requires no budget. It requires time, attention, and the following checklist.
Room-by-Room Preparation Checklist for Your Interior Photography Shoot
Living Room
- Remove all cables, remotes and everyday clutter from visible surfaces and behind furniture.
- Plump and arrange cushions and throws — layered textures read well in photography.
- Clear the fireplace hearth of ash, tools, or anything that distracts from the architectural feature. In a London period home, a well-styled fireplace is a centrepiece worth highlighting.
- Remove personal photos and memorabilia. These personalise the space for you but disconnect potential buyers or clients viewing the images.
- Add a single point of life — a vase of fresh flowers, a bowl of fruit, or a stack of well-chosen books. One deliberate styling detail is more effective than many small ones.
Kitchen
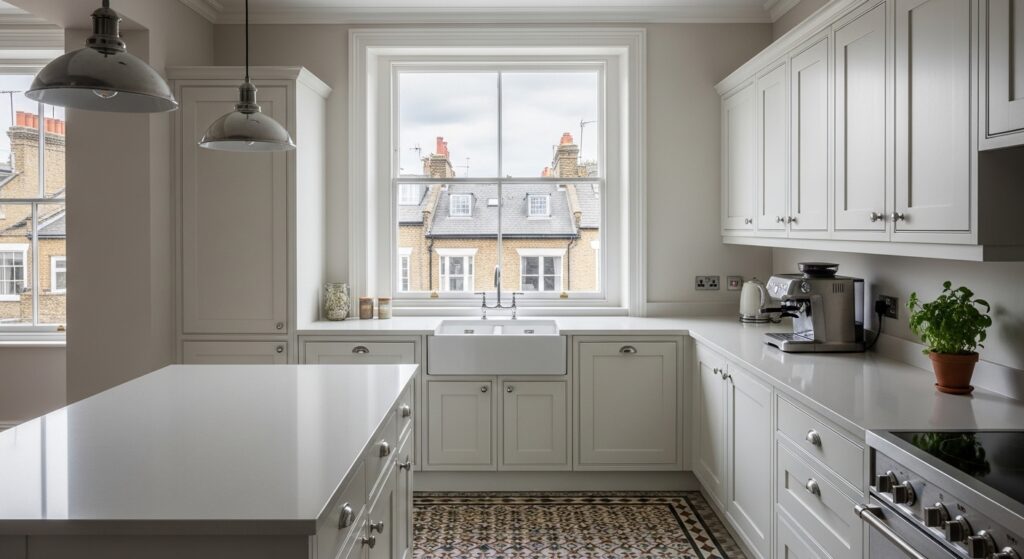
- Clear all worktops completely, then selectively replace with a maximum of two or three styled items — a coffee machine, a fruit bowl, fresh herbs in a pot.
- Hide appliances that are not aesthetically interesting — toasters, kettles, and drying racks should be stored away.
- Clean all surfaces, including splashbacks, hob, and sink. Limescale and fingerprints become very visible on camera.
- Replace mismatched tea towels with a single clean, neutral-coloured one folded neatly on the oven handle.
- In London period properties, expose original features where possible — Victorian floor tiles, original sash windows, or exposed brickwork all add authentic character that photographs exceptionally well.
Bedrooms
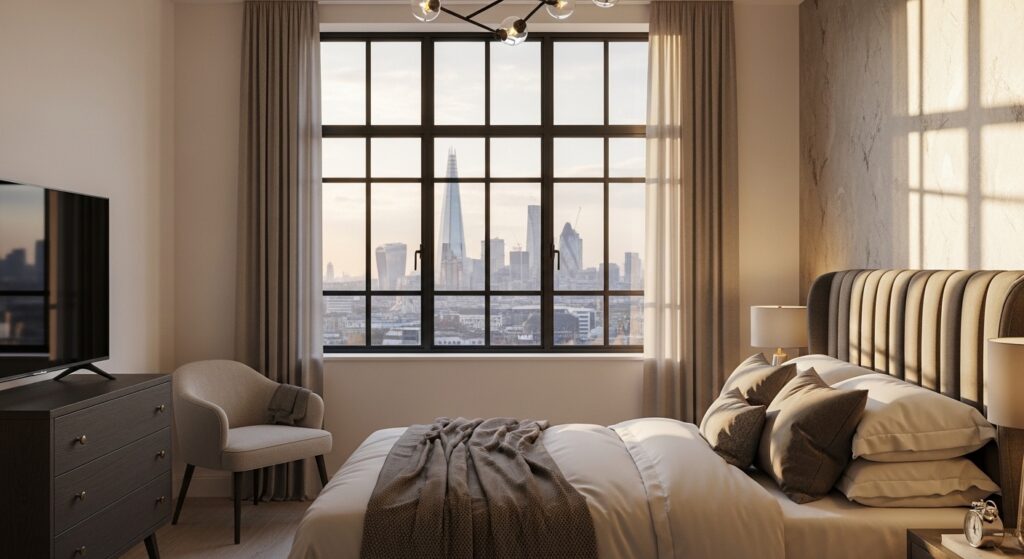
- Dress the bed properly — freshly pressed linen, layered pillows, and a folded throw at the foot. This is the single most impactful thing you can do in a bedroom.
- Clear all bedside clutter: phone chargers, glasses cases, water bottles, and medication should all be removed.
- Close wardrobe doors and drawers. Even slightly open doors create visual noise in a photograph.
- Style bedside tables simply — a lamp, one small object, and nothing more.
Bathrooms
- Remove all personal toiletries from shower, bath edge, and vanity surfaces.
- Replace with a small number of styled items: a clean white towel folded precisely, a plant, a single candle, or a bar of soap in a dish.
- Clean mirrors and glass screens thoroughly — water marks and smears are extremely visible under studio lighting.
- Put down the toilet seat and remove the toilet brush from view.
Throughout the Property
- Set all window blinds and curtains consistently — either fully open or at a uniform height. Mixed positions look careless on camera.
- Replace any dead bulbs and ensure all light fittings work. Your photographer may need to use ambient interior lighting as part of the composition.
- Move bins, cleaning equipment, and pet items completely out of frame — ideally to a room not being photographed.
- Park any cars away from the front of the property if exterior shots are planned.
The Day Before and the Morning of the Shoot
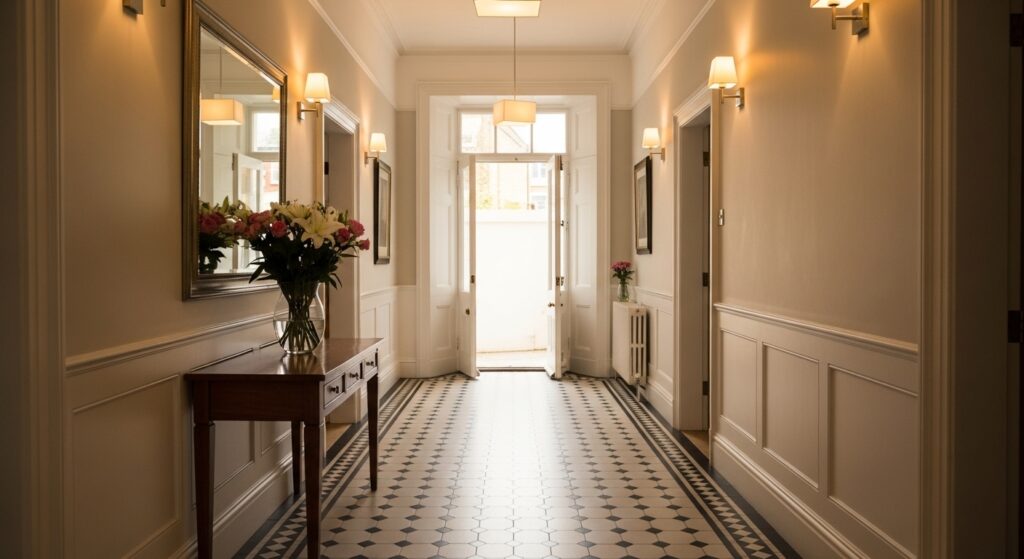
The day before the shoot, do a full walkthrough of every room that will be photographed. Look at each space from the doorway — this is roughly the angle from which many interior shots are composed. Make note of anything that stands out as distracting and address it then, not on the morning.
On the morning of the shoot:
- Turn on all interior lights in every room at least 30 minutes before the photographer arrives. This allows bulbs to reach their full colour temperature and gives the space warmth.
- Open all blinds and curtains to let in maximum natural light — you can adjust later based on the photographer’s direction.
- Add any final fresh elements: flowers, fruit, or a lit candle in the bathroom. These small details make a real visual difference.
- Do a final clutter sweep, paying special attention to floors, surfaces, and anything visible through windows.
- Ensure the property is quiet — if possible, arrange for children, pets, and non-essential people to be elsewhere during the shoot.
A professional residential interior photographer will guide you on the day, but arriving to a well-prepared space means more time shooting and less time problem-solving. For London properties where shoot time is often limited by building access or natural light windows, this matters considerably.
When to Bring in a Professional Stylist
For most owner-occupied London homes, thorough preparation by the homeowner is sufficient. But there are circumstances where bringing in a professional stylist as part of the shoot production team adds significant value:
- New-build and developer show homes where the space needs to look aspirational and fully realised, not empty or show-home generic.
- Interior designer portfolio shoots where the project needs to be documented at its absolute best for press submissions, award entries, and client pitches.
- Luxury residential listings in prime London postcodes where the marketing demands a level of visual polish beyond what a standard preparation achieves.
- Rental properties and serviced apartments that need to look consistently styled across multiple units or across a portfolio of properties.
A stylist works in collaboration with the photographer to ensure every element in every frame contributes to the final image. For complex or high-value shoots, this is not an optional extra — it is a production decision that directly improves the commercial quality of the output. Joel Knight works with a trusted network of stylists and can coordinate this as part of your shoot planning. See the full residential photography portfolio to understand the level of finish a properly prepared and styled shoot produces.
Frequently Asked Questions
How far in advance should I start preparing my home for the shoot?
Begin the room-by-room preparation at least two to three days before the shoot. This gives you time to notice anything that needs fixing — a broken blind, a missing bulb, a room that needs more thorough decluttering than expected. Leaving everything to the morning of the shoot creates unnecessary stress and almost always results in something being missed.
Does the photographer provide any preparation guidance beforehand?
Yes. A professional residential interior photographer will typically share a preparation brief or checklist ahead of the shoot. This covers the specific requirements for your property type and the intended use of the images. For Joel Knight’s shoots, pre-shoot guidance is provided as standard. You can also review common questions on the FAQs page at interiorphotographer.photos.
Should I redecorate or renovate before booking a photography shoot?
Not necessarily. Professional home interior photography is about presenting your space at its current best — not creating something it is not. Fresh paint where walls are marked, clean grout in bathrooms, and repaired fixtures all make a visible difference. But a full renovation before a photography shoot is rarely necessary and often not the best use of your budget. The preparation steps in this guide will have a greater impact on the final images than most decorative changes.
Can the photographer help style the space on the day?
A professional interior photography shoot London will often involve some on-the-day adjustments — repositioning furniture slightly, adjusting blind heights, moving objects within a frame. However, the photographer’s primary role is technical and creative, not styling. For significant styling work, a dedicated stylist should be arranged in advance. The more prepared your space is before the shoot, the more time the photographer can focus on producing exceptional images rather than resolving preparation issues.
What happens if I am not happy with how a room looks on the day?
Speak to your photographer immediately — before any images of that room are taken. A good residential architectural photography professional will work with you to find solutions: changing the angle, adjusting the composition to exclude a problem area, or advising on a quick fix. What cannot be resolved on the day can sometimes be addressed in post-production for minor issues. The important thing is to raise any concerns at the start of the shoot, not after the photographer has packed up.
Ready to Book Your Residential Interior Photography Shoot?
A well-prepared space and a professional residential interior photographer produce results that are genuinely transformative — images that work across property listings, design portfolios, press features, and marketing materials for years after the shoot.
Browse the residential photography portfolio and architectural photography portfolio to see the standard of work, then get in touch via the contact page to discuss your project. Joel Knight is a London-based residential interior photographer working with homeowners, interior designers, property developers, and estate agents across London and the Home Counties.